分類 程式設計 下的文章

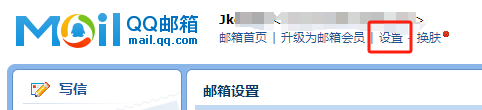
最近要開發登入系統, 需要用到郵箱作驗證, 首先去qq郵箱開通smtp服務, 點 "設置" -> "帳號"
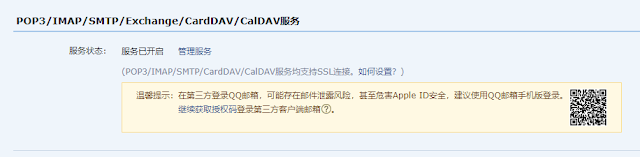
71894-50qtt9i4ovx.png

然後把smtp服務給開啟
35129-gd4h0xxdctg.png

接著點管理服務, 然後在"安全設置"中生成授權碼
18381-um6usahrivk.png

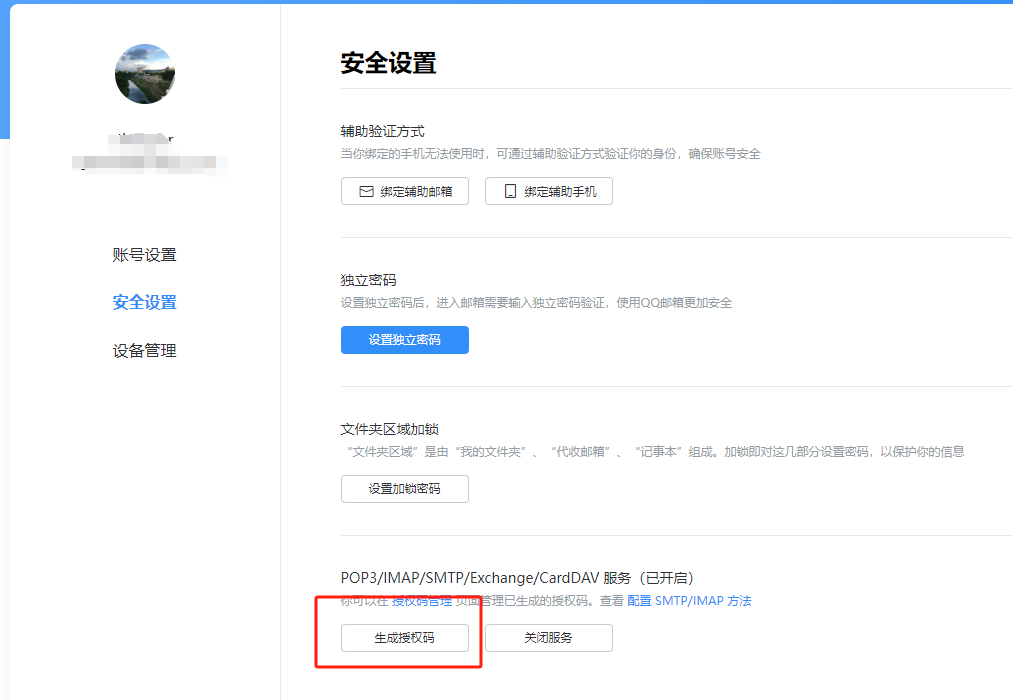
生成的授權碼無法再次查看, 要記得保存下來, 後面會用到
07263-54kpgcbgnb.png

然後回到node開發對應功能, 需要先安裝兩個套件

$ npm install nodemailer
$ npm install nodemailer-smtp-transport

接下來就是功能

const transport = nodemailer.createTransport(smtpTransport({
    host: 'smtp.qq.com', // qq smtp 地址
    port: 465, // smtp默認端口
    secure: true,
    auth: {
      user: '1300000000@qq.com', // 郵箱用戶名
      pass: 'fexxxxxxxxxx' // SMTP授權碼
    }
}));

const FROM = '1300000000@qq.com';
const TO = '1300000000@qq.com';

//驗證郵箱合理
if (regEmail.test(TO)){
  let code = randomFns()
  transport.sendMail({
    from: FROM, // 發件郵箱
    to: TO, // 收件列表
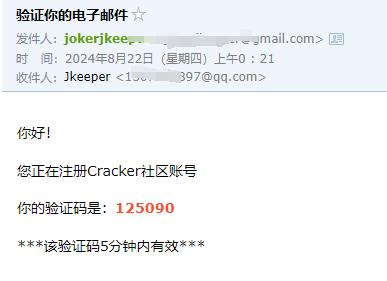
    subject: '驗證你的電子郵件', //標題
    html: `
    <p>你好!</p>
    <p>你正在註冊Cocabear社區帳號</p>
    <p>你的驗證碼是:<strong style="color: #ff4e2a;">${code}</strong></p>
    <p>***該驗證碼5分鐘内有效***</p>` // html 内容
  }, 
  function(error, data) {
    console.error("error:", error);
    assert(!error,500,"發送驗證碼錯誤!")
    transport.close();
  })
  //後續工作
  console.log("send success");
}else{
    assert(false,422,'請輸入正確郵件格式!')
}

85595-vswp2y548cf.png

但需要注意的是qq smtp只能發給同樣qq郵箱, 不能發給外郵

C# 使用 HttpListener 開啟 Httpserver

this.listener = new HttpListener();
this.listener.Prefixes.Add(s);
this.listener.Start();
this.Accept();
但跑到 Accept 出現錯誤
http server error: 5 ---> System.Net.HttpListenerException:
26281-r1th1hsoif8.png

如果本地沒有使用root權限運行就會出現無法獲取監聽端口問題, 需要添加對應權限
netsh http add urlacl url=http://*:8081/ user=everyone

最近項目是台灣這邊的, 但使用到的是之前大陸製作的source, 一直沒處理, 這邊製作了 python 進行簡體轉繁體處理

import os
import glob
import zhconv

root_path = r"g:/OlgCase/bbm/source/Web/"
subdir = ["application"]

def getSubFileonFolder(path):
    count = 0
    for path, subdirs, files in os.walk(path):
        for name in files:
            fn = os.path.join(path, name)
            if fn.endswith(".js"):
                print('[js]fn:' + fn)
                count+=1
                testWriteFile(fn)
            elif fn.endswith(".php"):
                print('[php]fn:' + fn)
                count+=1
                testWriteFile(fn)

    print("檔案數",count)

def testWriteFile(path):
    fn = path
    f = open(path, mode='r')
    content = f.read()
    f.close()
    content2 = zhconv.convert(content, 'zh-tw')

    with open(fn, "w", encoding="UTF-8", newline='\n') as file:
        file.write(content2)
        file.close()

def process():
    for sub in subdir:
        getSubFileonFolder(root_path + sub)

if __name__ == "__main__":
    process()

$ pip install opencv-python

出現錯誤, python setup.py egg_info
23546-nulflha4fhj.png

需要升级 pip 版本
$ pip install --upgrade pip -i https://mirrors.aliyun.com/pypi/simple/

安裝失敗, 後來去官網下載安裝檔升級

安裝 opencv 老是失敗, 應該是被牆了, 但掛了vpn還是無效

$ pip install opencv-python -i https://mirrors.aliyun.com/pypi/simple/
50505-r297uv50pvb.png

直接到網上下載檔案安裝, windows 選擇 win_amd64 格式
https://pypi.tuna.tsinghua.edu.cn/simple/opencv-python/

安裝檔案
$ pip install opencv_python-4.5.5.64-cp36-abi3-win_amd64.whl

查看安裝清單
$ pip list
04921-kiurv32sr2o.png

使用 nuget 安裝 StackExchange.Redis 套件
連線方式

ConfigurationOptions options = new ConfigurationOptions
{
    EndPoints = { { "127.0.0.1", 6379 } },
};
ConnectionMultiplexer muxer = ConnectionMultiplexer.Connect(options);
IDatabase conn = muxer.GetDatabase(1);

設定string數據

conn.StringSet("name", "chung  chen");
string name = conn.StringGet("name");

//get value async
var pending = conn.StringGetAsync("name");
string value2 = conn.Wait(pending);

HashSet

var list = new List<User>{
    new User { Index = 1, Name = "立白" },
    new User { Index = 2, Name = "妄为" },
    new User { Index = 3, Name = "毒妇" }
    };
foreach (var item in list){
    var hashEntries = new HashEntry[]{
        new HashEntry("ID", item.Index),
        new HashEntry("Name", item.Name)
    };
    conn.HashSet("User_" + item.Index.ToString(), hashEntries);
}

Subscribe

ISubscriber sub = muxer.GetSubscriber();
sub.Subscribe("messages", (channel, message) => {
    Log.Debug("Subscribe message1:" + (string)message);
});
sub.Publish("messages", "hello");

SortedSet

string rankTag = "rank_1001";
Dictionary<string, int> userScore = new Dictionary<string, int>(){
    { "1045", 70},
    { "1046", 23}
};
foreach (KeyValuePair<string, int> data in userScore){
    await conn.SortedSetAddAsync(rankTag, data.Key, data.Value);
}
//get 1045's score
double score = (double)await conn.SortedSetScoreAsync(rankTag, "1045");

//get 1045's rank number
int rankNumber = (int)await conn.SortedSetRankAsync(rankTag, "1046")

//get rank's member between 1 to 3
RedisValue[] rankList = await conn.SortedSetRangeByRankAsync(rankTag, 1, 3);

具體還有很多, 請參考下面對應表去使用
79041-rxzl0qz9ut9.png